
Learn how to build a DIY cold plunge at home for under $500. Step-by-step instructions, materials list, water treatment guidance, and maintenance tips.
Why Build a Cold Plunge Yourself?
Cold plunging has moved from sports facilities and training rooms to backyard patios. The benefits are simple: lower inflammation, improve recovery, and build mental resilience without a spa membership.
The good news? You don’t need a $5,000 unit to get started.
With a few practical materials and a realistic setup, you can build a functional cold plunge for under $500.
This guide walks you through it step by step.
Before You Start: Quick Reality Check
A DIY cold plunge is simple, but it is still exposure to extreme cold. Make sure you:
- Understand safe immersion times
- Have stable footing entering and exiting
- Have drainage access for water changes
- Plan for ongoing sanitation
This build is about safety and consistency, not just saving money.
Before You Start: A Quick Reality Check
A DIY cold plunge is simple to build, but it is still intentional exposure to extreme cold. Before getting started, make sure you:
- Have stable footing for safe entry and exit
- Have proper drainage access for water changes
- Understand safe immersion times
- Plan for ongoing water sanitation
- Consider your individual health factors
This project is about consistency and safety, not just cost savings.
Step 1: Choose Your Tub
Your container is the foundation of your build.
Budget-Friendly Options
- Stock tank (metal or plastic)
- Heavy-duty storage bin (reinforced)
- Large freezer chest conversion (advanced DIY option)
For most homeowners, a 100–150 gallon stock tank is the simplest, most durable choice.
Estimated Cost: $100–$200
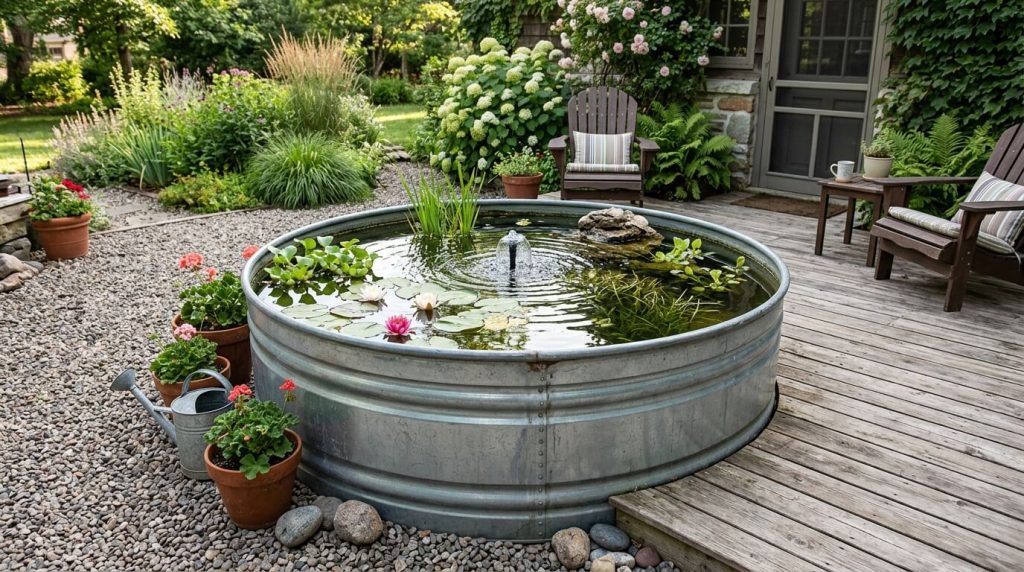
Step 2: Select Your Location
Placement matters more than people think.
Look for:
- Level ground
- Drainage access
- Shade (reduces temperature fluctuation)
- Access to hose or water supply
Avoid placing directly on grass long-term. Gravel or pavers provide stability and drainage.
Step 3: Insulation (Optional but Recommended)
If you want better temperature retention:
- Add foam board insulation around exterior walls
- Use a fitted lid
- Consider reflective wrap for sun exposure
Insulation reduces ice use and stabilizes temperature between sessions.
Estimated Cost: $50–$100
Step 4: Fill and Cool the Water
Fill your tub with clean hose water.
Target Temperature Range
- Beginners: 55–60°F
- Intermediate: 45–55°F
- Advanced: 38–45°F
Ice works for occasional plunges. For regular use, consider:
- Frozen water jugs
- Dedicated ice maker
- DIY chiller system (advanced build)
Keep it simple at first.
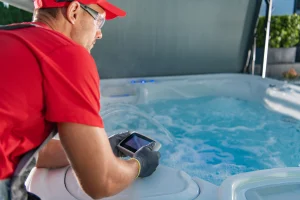
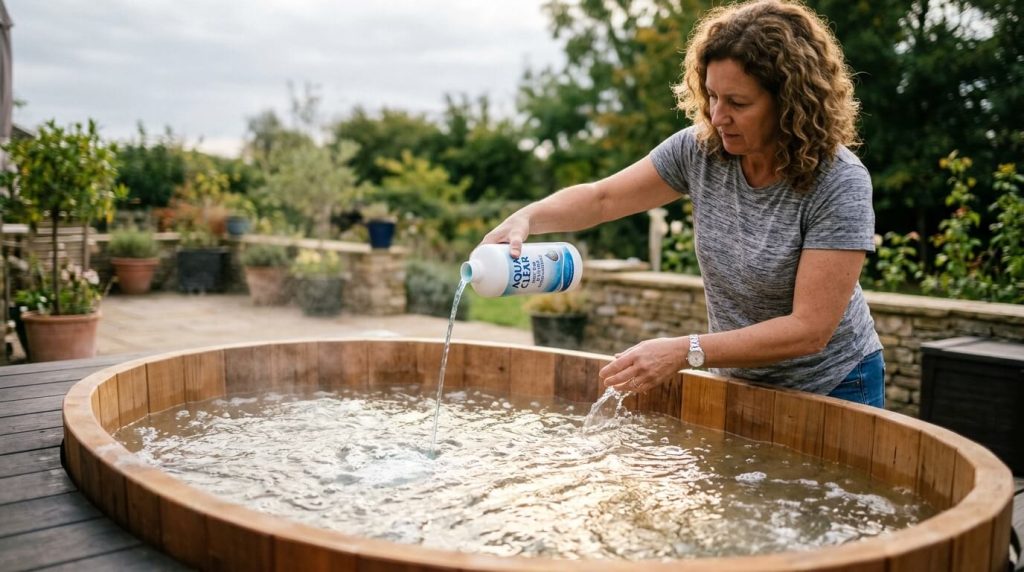
Step 5: Water Sanitation and Treatment
Clean water is non-negotiable. Unlike full spa systems, most DIY cold plunge builds do not include continuous filtration, which makes proactive water treatment and regular monitoring even more important.
Without treatment, bacteria and algae can develop quickly, especially in warm climates.
Basic Maintenance Plan
- Skim debris regularly
- Replace water every 1–2 weeks (light use)
- Monitor clarity and odor
- Keep tub covered when not in use
For easier long-term maintenance, water treatment solutions designed for cold plunge systems help stabilize water quality and reduce frequent draining.
One option is Cold Plunge Water Treatment Stabilizer Cleaner & Clarifier, formulated to help maintain clarity, reduce buildup, and simplify routine care.
This is especially helpful if you plan to plunge multiple times per week.
Cold Plun
If you plan to plunge multiple times per week, consistent sanitation becomes more important than ice management. A stabilizer and clarifier designed for cold plunge systems, like Cold Plunge 55, helps reduce buildup, maintain clarity, and extend the time between water changes.
Step 6: Temperature Monitoring
Consistent temperature is part of safe use.
Place a floating or submersible thermometer inside your plunge to monitor changes between sessions.
Recommended Tool:
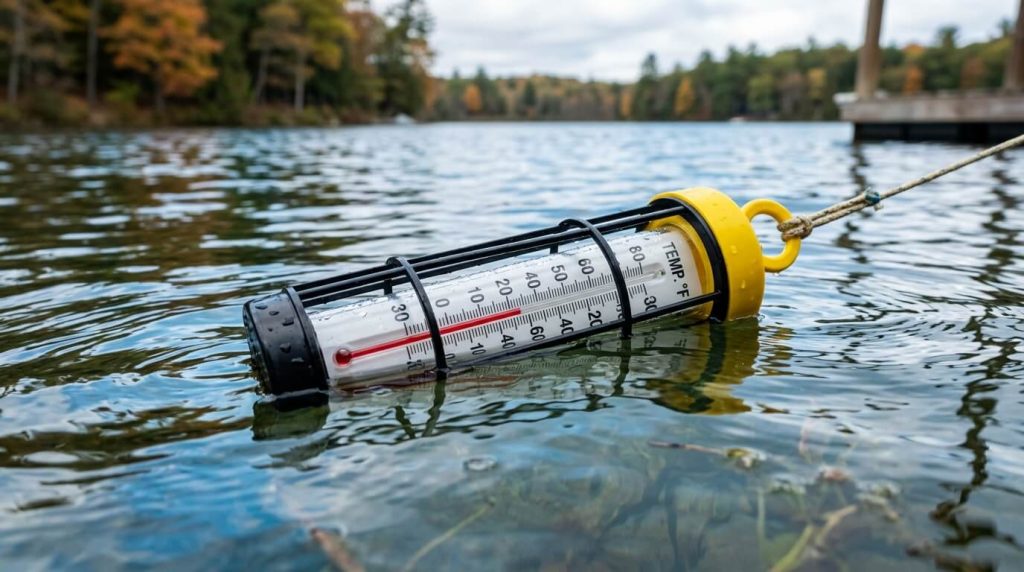
Monitoring temperature prevents overexposure and helps you track progress safely.
Step 7: Establish Safe Plunge Guidelines
Cold exposure is powerful. Respect it.
General Guidelines
- Start with 1–2 minutes
- Build gradually to 3–5 minutes
- Avoid plunging alone if new
- Exit immediately if dizzy or lightheaded
- Consult a physician if you have cardiovascular conditions
Cold plunging should feel intense but controlled, not overwhelming.
Individuals with cardiovascular conditions, high blood pressure, or underlying medical concerns should consult a healthcare professional before beginning cold exposure routines.
Budget Breakdown (Under $500 Target)
| Item | Estimated Cost |
|---|---|
| Stock Tank | $150 |
| Insulation Materials | $75 |
| Ice or Cooling Method | $50 – $100 |
| Water Treatment | $30 – $50 |
| Thermometer | $20 |
| Miscellaneous Supplies | $50 |
Estimated Total: $355–$475 depending on upgrades
Costs vary based on location and material choices, but most homeowners can stay comfortably under $500 without advanced cooling systems.
Optional Upgrades
For frequent users, long-term sanitation and monitoring become more important than initial build cost.
If you decide to enhance your setup later:
- Filtration pump
- DIY chiller system
- Ozone sanitation system
- Insulated plunge cover
- Elevated wood platform
These additions increase convenience but are not required for starting under $500.
Common DIY Mistakes to Avoid
- Skipping water sanitation
- Letting water sit uncovered
- Ignoring temperature fluctuations
- Overcomplicating the first build
- Staying in too long too soon
Start simple. Improve over time.
Maintenance Checklist (Quick Reference)
Weekly:
- Check water clarity
- Add treatment as directed
- Monitor temperature
Biweekly:
- Partial or full water change (depending on usage)
Monthly:
- Inspect tub integrity
- Clean interior walls
Consistency keeps the plunge usable and hygienic.
Frequently Asked Questions (FAQs)
Light use may allow 1–2 weeks between changes. Heavier use requires more frequent replacement.
Not necessarily. Insulation and shade can reduce the need for constant ice.
Not for a basic build, but frequent users may benefit from one.
Yes, but consider drainage and moisture control carefully.
Yes. Temperature consistency and water cleanliness matter more than aesthetics.
The Bottom Line
A DIY cold plunge does not need to be expensive to be effective. Focus on durability, cleanliness, and temperature control.
Start simple. Maintain it properly. Upgrade only if needed.
With the right setup and basic water care, you can build a reliable cold plunge system for under $500 and enjoy the benefits year-round.