Why Deck Staining Matters More Than Most Homeowners Think
A wood deck lives outside year-round. Sun, rain, temperature swings, foot traffic, and moisture are constantly working against it.
Without protection, even high-quality decking gradually fades, dries out, and absorbs moisture that can lead to cracking and structural damage.
That’s why deck staining is one of the most important maintenance steps homeowners can take to extend the life of their deck.
Without protection, wood gradually dries, cracks, fades, and absorbs moisture. Over time this can lead to:
- Splintering boards
- Gray weathering and discoloration
- Mildew growth
- Structural deterioration
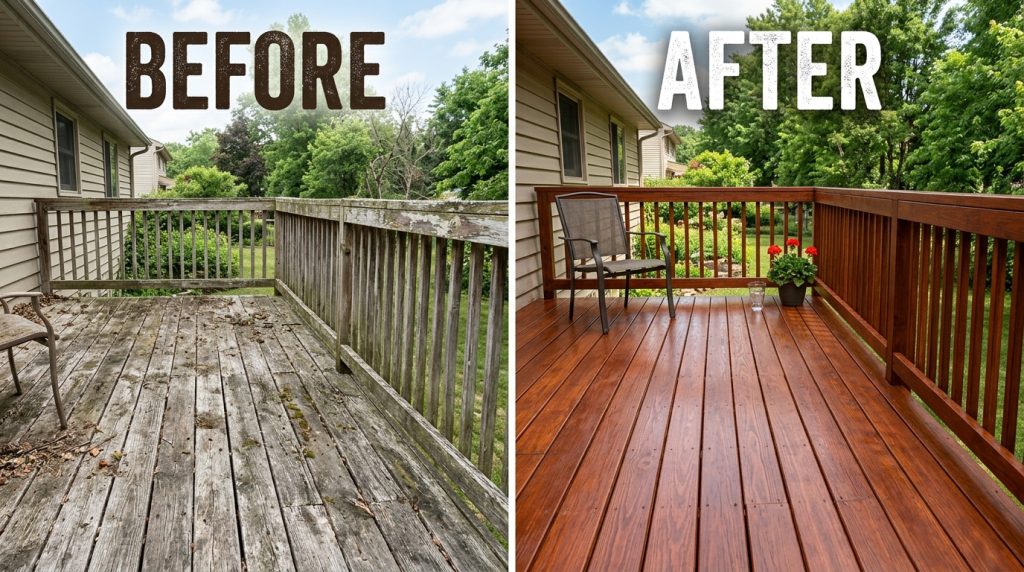
Staining does two important things:
- Protects the wood from moisture and UV damage
- Restores color and visual warmth to the deck
When applied correctly, a quality deck stain can extend the life of your deck by several years and reduce the need for expensive repairs.
The key word here is correctly. Most staining failures come from poor preparation rather than poor products.
Some homeowners ask about deck sealers versus stains. Most modern deck stains include sealing properties, meaning they both protect the wood and add color in one step.
Understanding Deck Stain Types
Choosing the best deck stain depends on wood condition, desired appearance, and how much maintenance you are willing to perform over time.
Transparent Deck Stains
Transparent stains show the natural grain of the wood and provide light protection.
Best for:
- new decks
- high-quality hardwoods
- homeowners wanting a natural look
Downside: requires more frequent maintenance.
Semi-Transparent Deck Stains
This is the most popular option for residential decks.
Benefits:
- highlights wood grain
- provides stronger UV protection
- lasts longer than transparent stains
Most homeowners find this strikes the best balance between protection and appearance.
Solid Deck Stains
Solid stains behave similarly to paint but still penetrate the wood surface slightly.
Best for:
- older decks with discoloration
- mixed wood repairs
- hiding imperfections
These provide the longest protection but conceal the wood grain.
Deck Prep for Staining (The Step Most People Get Wrong)
Proper deck prep for staining determines whether a stain lasts months or years.
Preparation ensures the stain penetrates the wood instead of sitting on the surface.
Step 1: Inspect the Deck
Look for:
- loose nails or screws
- cracked boards
- structural damage
- mold or mildew
Replace damaged boards and secure fasteners before continuing.
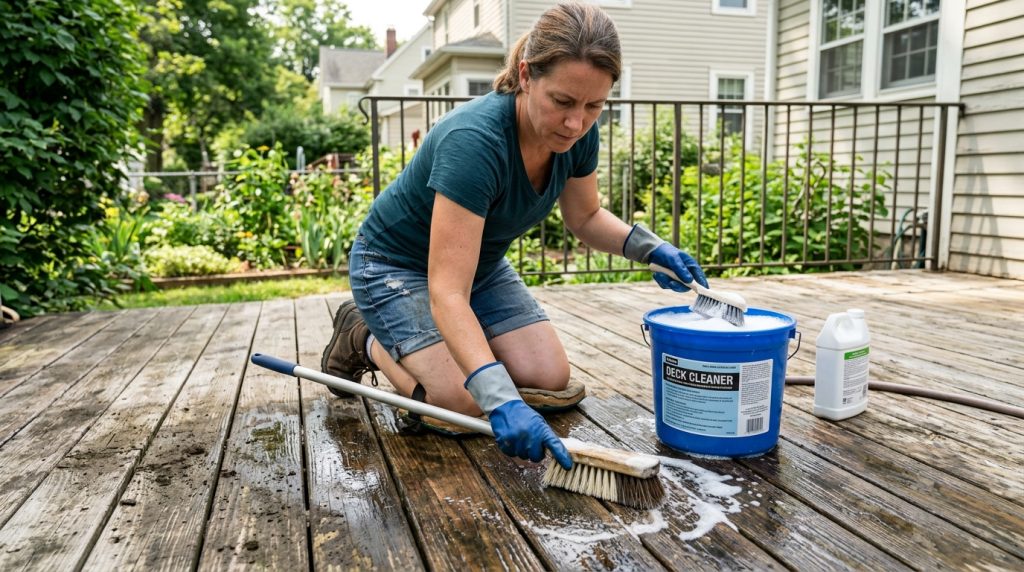
Step 2: Clean the Deck Thoroughly
Dirt, pollen, mildew, and old finishes block stain absorption.
A typical cleaning process includes:
- sweeping debris
- applying deck cleaner
- scrubbing heavily soiled areas
- rinsing thoroughly
Deck cleaners help remove:
- mildew stains
- tannin bleed
- oxidation
Allow the deck to dry 24 to 48 hours before moving forward.
Some homeowners also apply a deck brightener after cleaning. Brighteners help neutralize cleaners and restore the natural color of the wood before staining.
Step 3: Sand Rough or Weathered Areas
Light sanding improves stain penetration and removes splinters.
Focus on:
- railings
- handrails
- worn traffic areas
- areas where old stain is peeling
A quick pass with 80–120 grit sandpaper is usually sufficient.
Step 4: Confirm Moisture Levels
Wood must be dry before staining.
A simple rule homeowners follow:
If the deck was washed yesterday, wait another day.
Many pros recommend wood moisture levels below 15% before applying stain.
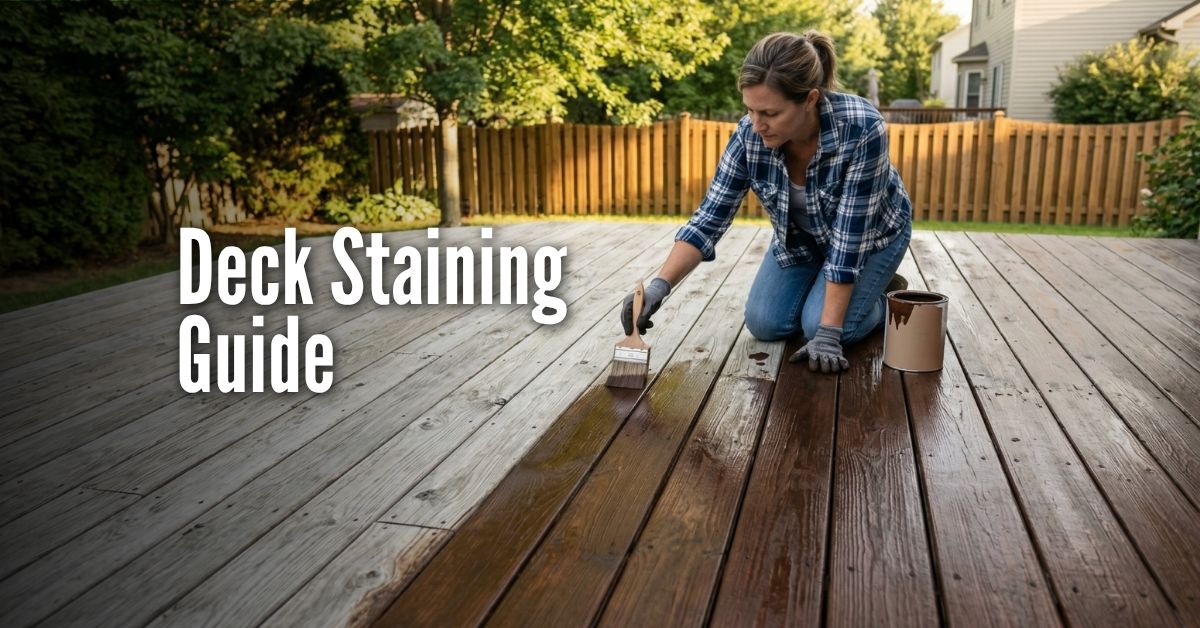
How to Stain a Deck (Step-by-Step Application Guide)
Once the deck is fully prepped and dry, the staining process becomes straightforward.
Step 1: Choose the Right Weather Window
Ideal staining conditions:
- temperatures between 50°F and 85°F
- low humidity
- no rain forecast for 24 hours
Direct sunlight can cause stain to dry too quickly, which may create lap marks or uneven coloration.
Morning or late afternoon application often works best.
Step 2: Protect Nearby Surfaces
Before applying stain, cover:
- siding
- plants
- concrete
- outdoor furniture
Drop cloths or plastic sheeting can prevent accidental overspray or drips.
Step 3: Apply the Stain Evenly
Deck stains can be applied using:
- brushes
- rollers
- sprayers
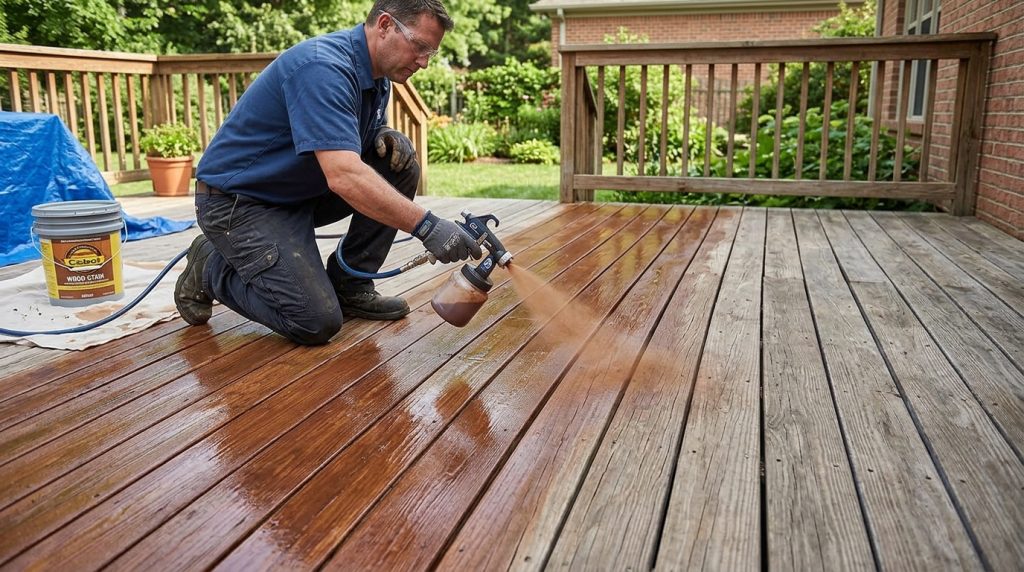
Many homeowners find that sprayers provide faster and more consistent coverage, especially on larger decks.
One commonly used option is the PetraTools Stainless Steel Concrete Sprayer, which is designed to handle sealers, stains, and protective coatings.
Benefits of using a sprayer include:
- faster application
- more uniform coverage
- easier access to railings and tight areas
Backpack models like the PetraTools HD4000 Battery Backpack Sprayer are also popular for larger properties because they allow continuous spraying without pumping.
Many homeowners use pump sprayers or backpack sprayers to apply stains and sealers evenly across large surfaces.

PetraTools HD4000 Backpack Sprayer
Best for: Lawn care, pest control, property maintenance
Key features: 4-gallon tank, adjustable pressure, rechargeable battery
Availability: In stock for $199.99
Buy ProductStep 4: Back Brush for Even Penetration
Professionals often follow spraying with back brushing.
This means lightly brushing the stain into the wood immediately after spraying.
Benefits:
- improves absorption
- prevents puddling
- evens out color tone
This step is especially important with thicker stains.
Step 5: Allow Proper Drying Time
Drying time varies depending on stain type.
Typical drying ranges:
- light foot traffic: 24 hours
- full cure: 48–72 hours
Avoid placing furniture or rugs back on the deck until the stain fully cures.
How to Prep and Stain a Wood Deck for the First Time
New deck owners often worry about making mistakes during their first staining project.
A simple first-time workflow looks like this:
- Inspect boards and fasteners
- Clean the deck thoroughly
- Allow the wood to dry completely
- Lightly sand rough areas
- Protect surrounding surfaces
- Apply stain evenly
- Back brush for penetration
- Allow proper drying time
Once you’ve done it once, the process becomes surprisingly straightforward.
Common Deck Staining Mistakes
Even experienced homeowners occasionally run into staining problems.
The most common issues include:
Staining Damp Wood
Moisture prevents stain from penetrating properly.
Applying Too Much Stain
Excess stain leads to sticky surfaces and uneven drying.
Skipping Deck Cleaning
Dirt and mildew create blotchy stain patterns.
Staining in Direct Sunlight
Rapid drying can cause lap marks.
Most of these issues are prevented by slowing down and focusing on preparation.
How Long Deck Stain Typically Lasts
Longevity depends on stain type and climate exposure.
Typical Ranges:
| Stain Type | Average Lifespan |
|---|---|
| Transparent | 1 – 2 years |
| Semi-Transparent | 2 – 4 years |
| Solid | 3 – 5 years |
Typical ranges: Decks that receive intense sun or heavy foot traffic may require maintenance sooner.
Climate exposure, sun intensity, and foot traffic can shorten or extend these timelines.
Choosing the Best Deck Stain for Your Situation
The best deck stain depends on a few key factors.
Consider:
- age of the deck
- wood species
- sun exposure
- maintenance tolerance
General guidance:
- New decks: transparent or semi-transparent stains
- Older decks: semi-transparent or solid stains
- High traffic decks: durable oil-based formulas
Always test stain color on a small hidden section before committing to the entire deck.
Oil-based stains typically penetrate deeper into wood fibers and often perform better on older decks, while water-based stains dry faster and are easier to clean up.
Frequently Asked Questions
Most decks benefit from staining every 2–3 years, depending on climate and stain type.
Spraying speeds up application and creates more consistent coverage. Many homeowners spray first and then back brush for optimal penetration.
Dirt, pollen, and mildew block stain absorption. The result is often uneven color and premature peeling.
Power washing can be helpful but should be done carefully. Excess pressure can damage wood fibers. A deck cleaner with moderate pressure is usually safer.
The Bottom Line
Deck staining is one of the most effective ways to protect and extend the life of your outdoor living space.
The most important factors are simple:
- thorough deck preparation
- choosing the right stain type
- applying the stain evenly
With the right approach and tools, staining a deck becomes a manageable weekend project rather than an overwhelming home improvement task.
And once the work is done, the reward is immediate: richer color, stronger protection, and a deck that looks ready for another season of outdoor living.