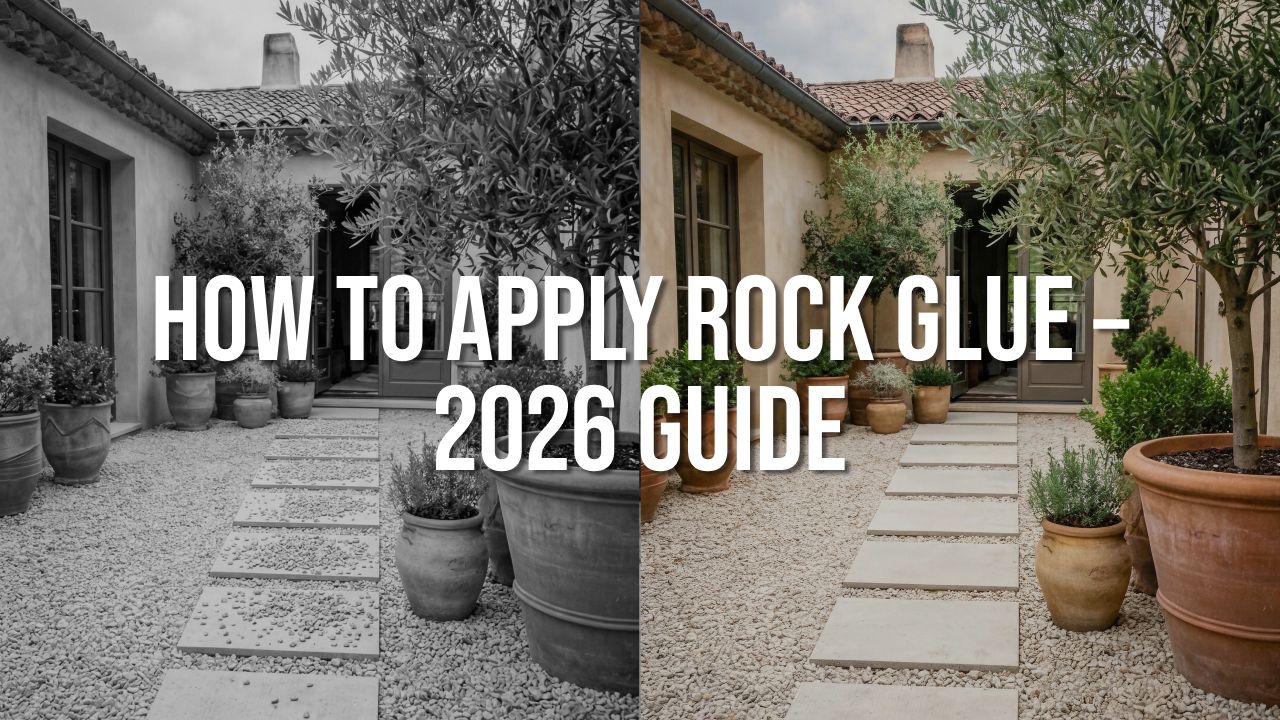
Learn how to apply rock glue with this step-by-step guide for using landscape rock adhesive to glue rocks together and stop gravel from shifting.
Loose gravel and shifting stone can make even the best-looking landscape feel unfinished and sloppy. If you’ve ever watched decorative rock or pea gravel creep out of place after a hard rain or heavy foot traffic, you’re not alone. And if you’ve ever experienced the frustration of constant clean up due to stray rocks, you’re also not alone. Lucky for you, rock glues and adhesives have made their way onto the lawn and landscape scene. These glues are exactly what you need when you want to keep rocks and stones locked in place and prevent constant migration.
This guide walks you through how to apply rock glue the right way, from surface prep to cure time, with practical tips that help your landscape stay natural-looking, stable, and built to last.
Disclaimer: This guide references PetraMax Rock Glue Max, is a product developed for decorative stone, pea gravel, rock, and gravel applications. It’s been reviewed through real-world use, customer feedback, and practical landscaping scenarios. The application principles outlined here reflect methods that consistently produce reliable results when followed correctly.
Buy ProductQuick Answers – this chart will answer the following:
| Use Rock Glue When | Don’t Use Rock Glue When | 3 Rules for Success |
|---|---|---|
|
You’re bonding heavier material like crushed stone, pea gravel, river rock.
You want a safe, invisible bond that reduces erosion, movement, and shifting.
The area gets weather, wind, light foot traffic, pets, or sits on a slope.
|
You need a structural solution like pavers, mortar, or a proper base.
You’re trying to “rebuild” the area instead of stabilize it.
You’re expecting the rock or gravel area to behave like concrete or handle heavy vehicle traffic.
|
1) Start with completely dry rocks, gravel, stone, etc. and have a dry base.
2) Make sure the rocks are dust-free, then apply thin coats only, don’t use too much product at once.
3) Pick a rain-free cure window — moisture ruins bonding.
|
What Rock Glue Actually Does
What it is (surface binder / stabilizer for gravel, pebbles, stone)
Rock Glue or gravel adhesive is the best choice for locking down materials like crushed stone, pea gravel, and river rock. This binding agent is a liquid solution that creates a safe, invisible bond between rocks or gravel that prevents erosion and shifting caused by things like weather, wind, light foot traffic, and pets.
What it’s not
Landscape adhesive or rock glue isn’t a replacement for pavers, mortar, or a proper base. It’s not meant to fix structural problems or act like permanent construction like a driveway or sidewalk. It works best as a surface stabilizer once your bed is already in place.
Where it works best
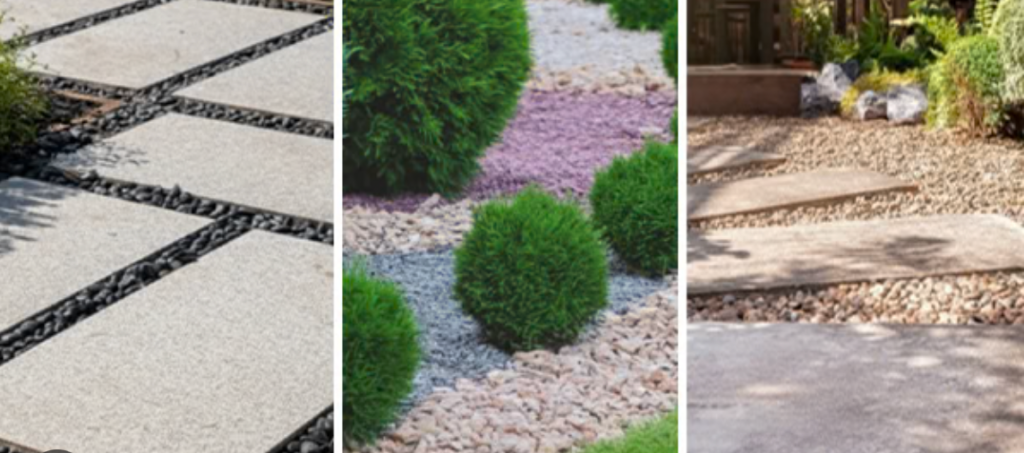
It is ideal for stabilizing decorative stones in garden beds, walking paths, and patio areas. It can also secure rock features, drainage areas, and slopes. Just about anywhere you want rocks, pebbles, or gravel to stay locked down and not scatter about, use rock glue.

PetraMax Rock Glue Max
Best for: Walkways, driveways, landscape borders, decorative stone areas, tree rings
Key features: Clear-drying, 100% water-permeable, non-toxic (zero VOCs/PFAS), pet & kid safe, holds 6–24 months, easy 2:1 water mix ratio
Availability: In stock — from $63.99 (1 gallon / covers 200 sq. ft.)
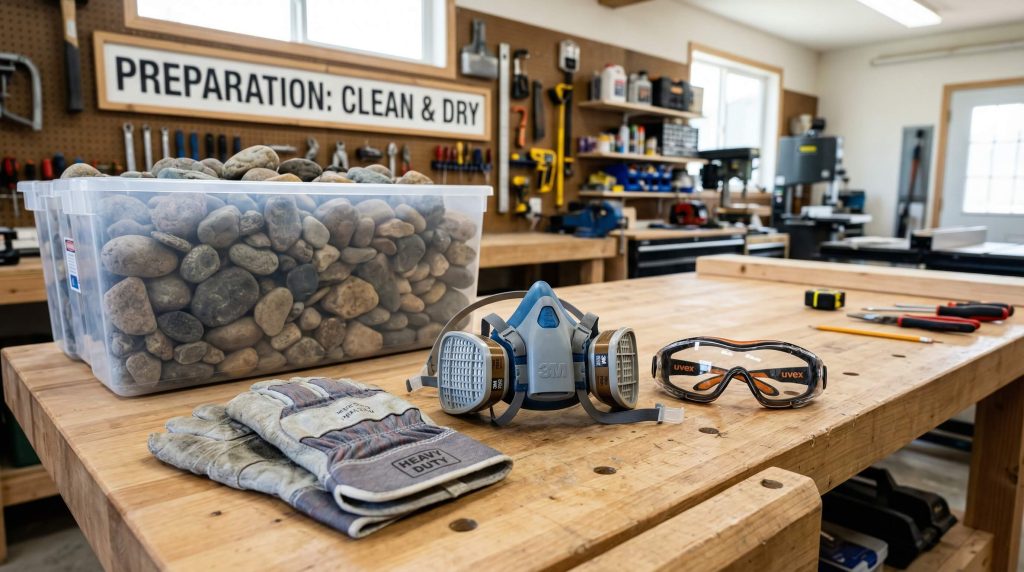
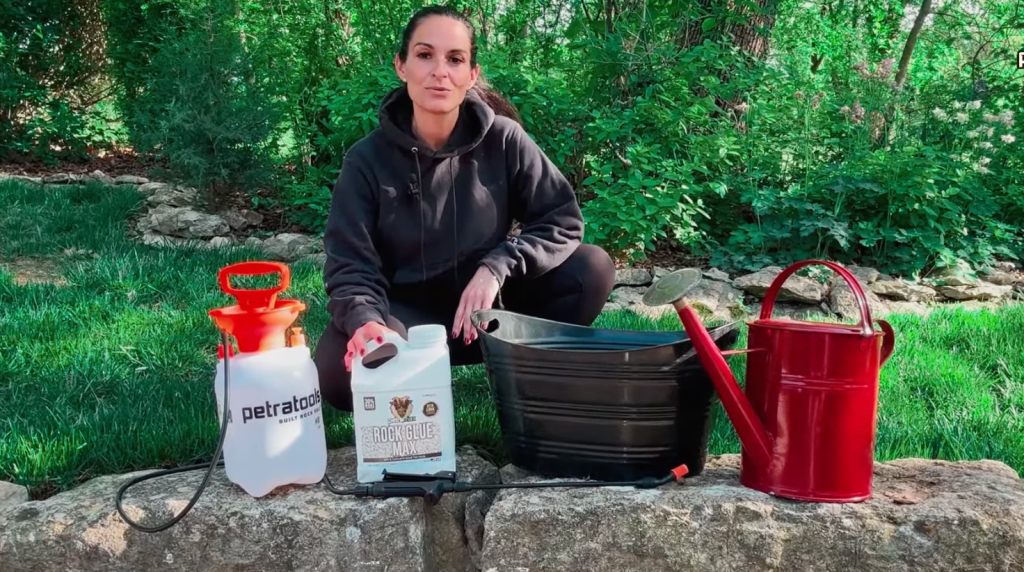
Buy ProductTools + Materials You’ll Need
Check out the table below for answers/suggestions for exactly what you’ll need:
| Topic / Section | What You’ll Need | Pro Tips & Suggested Products |
|---|---|---|
| Rock Glue & Optional Prep Helpers |
Rock glue (landscape rock adhesive)
Optional: broom / leaf blower, stiff brush
Hose (for earlier sprayer rinsing)
Bucket (if mixing method)
|
Pro Tips: Best results come from dry rock and a dust-free surface. If you rinse rock due to dust or debris, it may need a few days to dry before gluing.
Suggested Products: Try PetraMax Rock Glue Max as the rock glue you’re applying. Product gets positive ratings and customer service reviews.
|
| Application Tools |
Pump sprayer / garden sprayer
Watering can (for spray-on method)
Shovel or drill mixer (for mix method)
|
Pro Tips: Garden sprayer or pump sprayer gives the most even coverage for small areas. Use a battery sprayer for mid-sized areas. Watering can works for small areas but it’s easier to over-apply.
Suggested Products: HD4000 for mid-sized areas (steady application without hand fatigue) and HD2000-S for smaller areas.
|
| PPE & Protection |
Gloves
Eye protection
Optional: long sleeves
Cardboard / plastic sheeting for surrounding areas
|
Pro Tips: Sprayer gives the most even coverage. Watering can or pour method works for small areas but can lead to over-application.
Suggested Products: Nitrile-coated gloves, muck boots, safety glasses or goggles.
|
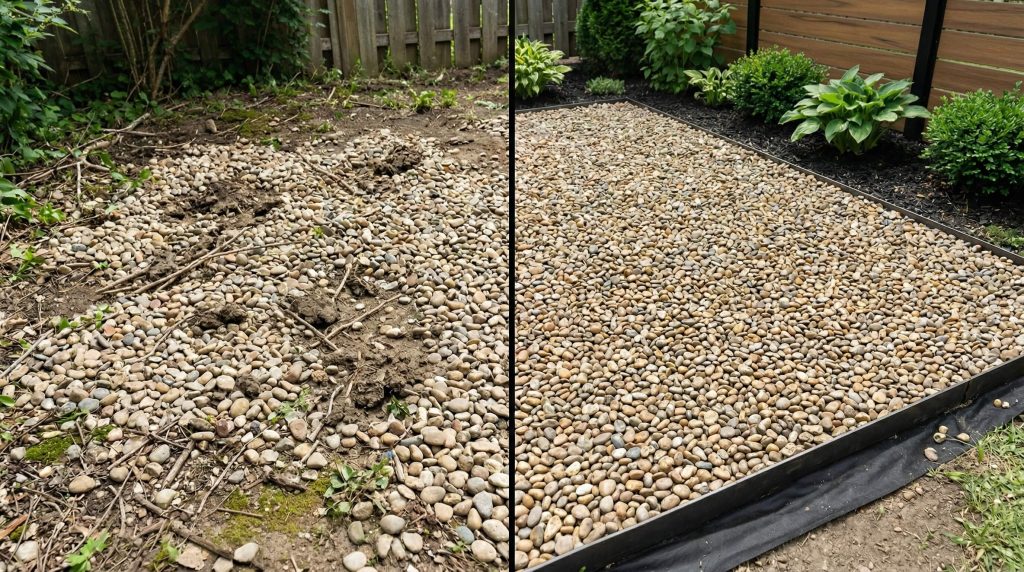
Surface Prep (This Is Where Most “It Didn’t Work” Stories Begin)
This step is where most rock glue failures happen. Not because the product is bad, but because the prep was rushed.
Get the base right (weed barrier, edging, slope control)
Rock glue works best on a bed that’s already set up properly. That means:
- Weed barrier fabric underneath (if applicable)
- Edging in place so material isn’t drifting outward
- No deep loose pockets or unstable slopes
Think of rock glue as a stabilizer, not a structural fix. If the area is already shifting badly, fix that first before you glue anything.
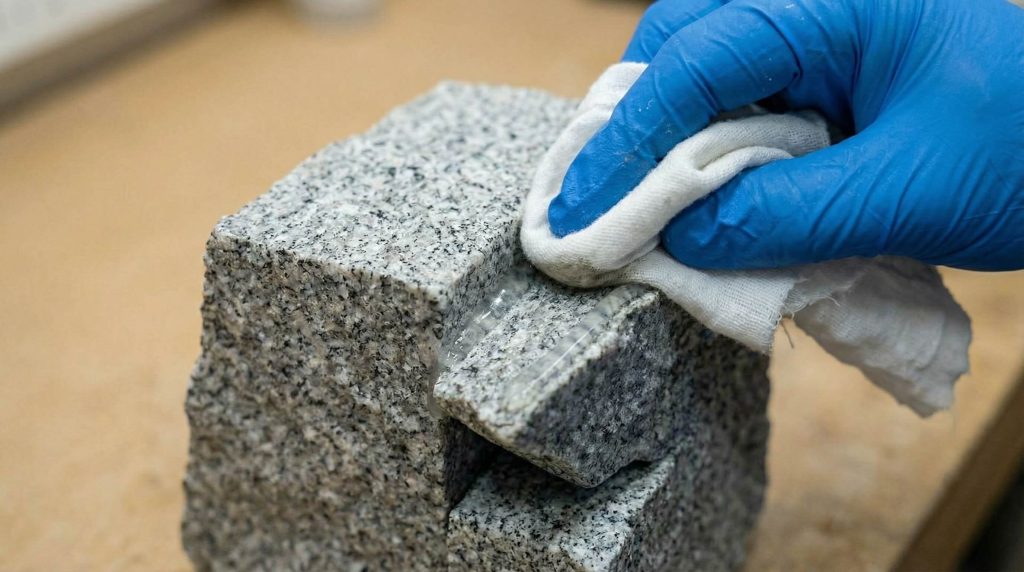
Clean and de-dust the rock
Glue bonds best when rock isn’t dusty or dirty.
Dust is the enemy. If your gravel or stone is coated in fine powder, the glue will bond to the dust instead of the rock.
Best approach:
- Lightly blow off with a leaf blower or broom
- If you rinse, let everything dry completely before applying glue
Make sure everything is DRY
Rain + wet rock = weak bond risk.
This can’t be overstated. Even slightly damp rock can weaken adhesion. If it rained recently or you rinsed dust off, wait. Dry rock is non-negotiable.
Weather Window + Dry/Cure Times (Timing matters more than people expect.
Temperature + humidity guidance
Most rock glues cure best in warm, dry conditions. Moderate temperatures and low humidity help the adhesive set evenly.
Cold temps slow curing. High humidity keeps things tacky longer.
Rain-free window
This is the big one. You want at least one full rain-free day, and ideally two. Rain before full cure is the fastest way to ruin a good application.
“Dry to touch” vs “fully cured”
Your rocks may feel dry within hours, but that doesn’t mean the bond is strong yet. The surface can seem fine while the adhesive underneath is still fragile. Give it time.
Application Methods (Pick One)
There’s no single “right” method. It depends on your area and how much control you want.
Method A: Spray-on (most common for existing rock beds)
This is what most homeowners use. Spray evenly over the top layer using light passes. Don’t flood. Build thin layers instead.
Best for:
- Existing beds
- Decorative paths
- Edges and borders
Method B: Pour-on (simple, fast, good control on small areas)
Pouring works for small sections where you want precise control. Let the adhesive soak down through the top layer.
Just be careful not to overdo it. It’s easy to apply too much this way.
Method C: Mix-in (best lock, more labor)
This is the strongest method. You mix glue directly with rock in a bucket, then spread it.
It’s more work, but gives maximum bonding. Often used for:
- Custom features
- Small decorative sections
- Pro-style installs
- Areas with light foot traffic
Step-by-Step: How to Apply Rock Glue
Step 1: Prep + mask nearby surfaces
Cover anything you don’t want glue on. Pavers, siding, concrete edges. Overspray happens.
Step 2: Apply a light tack coat
Start with a thin, even layer. You’re not trying to soak the bed. You’re just giving it something to grab onto.
Step 3: Let it set, then add a second thin coat
Most good results come from 2–3 thin coats, not one heavy one. Let each layer set and dry before adding the next.
Step 4: Let it cure fully before traffic
Don’t walk on it early. Even light scuffing before full cure can break the bond.
Step 5: Clean your sprayer immediately
This is beyond important. Flush garden sprayer, pump sprayer, or backpack sprayer with clean water right away. Most “rock glue clogged my sprayer” complaints come from people letting it dry inside the nozzle.
Coverage + How Much Rock Glue You Need
Coverage + How Much Rock Glue You Need
Knowing how much rock glue to use is one of the biggest factors in getting good results. Too little and stones won’t lock together. Too much and you risk an unnatural finish. Products like PetraMax Rock Glue Max are designed to give predictable coverage when you plan it correctly.
Square Footage Basics
Start by measuring the area you’re treating. Multiply length × width to get your square footage. This gives you a baseline before factoring in coats, rock size, and exposure. From there, always reference product guidelines to fine-tune your estimate.
If you want to skip the guesswork, PetraMax offers a coverage calculator that helps estimate how much Rock Glue Max you’ll need based on your project size and conditions.
PetraMax Rock Glue Max
Best for: Walkways, driveways, landscape borders, decorative stone areas, tree rings
Key features: Clear-drying, 100% water-permeable, non-toxic (zero VOCs/PFAS), pet & kid safe, holds 6–24 months, easy 2:1 water mix ratio
Availability: In stock — from $63.99 (1 gallon / covers 200 sq. ft.)
Buy ProductCoat Count Math
Coverage changes quickly depending on how many coats you apply.
One coat is usually enough for flat, low-risk decorative areas. Two coats work better for moderate exposure. Two to three coats are recommended for slopes, windy areas, pet traffic, or problem zones.
Each additional coat increases hold but also affects total product needed, which is why planning upfront matters.
Rock Size and Gaps Change Coverage
Rock size plays a bigger role than most people expect. Small pebbles bind easily because there are fewer gaps. Larger stone or river rock needs more product to bridge wider spaces between pieces.
Pro Tips (Small Moves That Make It Look 10x Better)
Don’t spray too close
Spraying too close causes puddles and shiny spots.
Focus on the top layer
That’s where movement starts. You don’t need to soak the entire bed.
Edges first, then the field
Edges are where most migration happens.
Test a small hidden patch
Always test before committing to the whole area.
Customer Results with Rock Glue
“After following the prep and layering steps, my decorative gravel locked in place without looking artificial. It’s held through rain and foot traffic and still looks natural.”
— Chris D., Bend, OR
“I used this on river rock along a pathway that kept shifting. The tack coat method made a huge difference. Everything stayed put and it’s been a big help around my lawn.
— Laura S., Fort Collins, CO
Troubleshooting (Pressure Drops, Clogs, White Haze, “Didn’t Hold”)
“My sprayer clogged”
Dried product in nozzle or screen. Flush immediately after use.
“It dried milky/white or looks glossy”
Usually from over-application or pooling.
“It didn’t hold after rain”
Most common cause: wet rock or rain too soon.
“Uneven hold / clumps”
Spraying too heavy in one spot.
“Gravel glue not working”
If you’re searching “gravel glue not working,” it’s usually because the rock was damp, dusty, or it rained too soon.
Safety Notes (Kids, Pets, Plants, and Clean-Up)
Keep pets/kids off until fully dry
Most products recommend overnight at minimum.
Don’t send product into drains
Keep it on the rock only.
Store leftover product correctly
Seal tightly, store indoors, and avoid freezing.
FAQ: Rock Glue Application Questions People Actually Ask
It’s long-lasting and provides excellent stabilization for years in most cases, but it’s not a structural glue like concrete, mortar, or epoxy. Rock glue is designed to bind and lock loose materials in place to prevent shifting, erosion, or washout — not to create load-bearing or permanent construction bonds. For heavy structural needs, use proper pavers, mortar, or concrete.
Yes. Pea gravel is one of the best and most common uses for rock glue. It binds the stones together effectively to reduce movement, prevent washout on slopes or driveways, and minimize scattering from wind, pets, or foot traffic while still allowing drainage and a natural look.
It typically dries to the touch in a few hours (2–6 hours depending on temperature and humidity). Full cure usually takes 24–48 hours, but in humid or cooler conditions, it can extend to 72 hours for maximum strength. Always apply on a dry day with no rain forecast for at least 24–48 hours after application.
Yes. Most people do apply rock glue with a pump sprayer or garden sprayer — it’s the most popular and effective method for even coverage. Use a fine mist or low-pressure setting to avoid puddling. Dilute if the product recommends, and apply thin, even coats (usually 2–3 light passes) for best bonding without over-saturation.
Years in many cases — typically 2–5 years or longer depending on weather exposure, traffic, slope, and maintenance. High-traffic areas, heavy rain, or extreme sun/heat may require touch-ups every 1–2 years. Proper application (dry surface, thin coats, good cure time) significantly extends durability.
Conclusion
Rock glue works when you plan ahead, follow directions carefully, and follow step by step directions. Dry prep, thin coats, a good weather window, and cleaning your sprayer or application tools immediately afterward will solve almost every problem people complain about. Rock glue and other landscape adhesives are amazing products that not only change the look of your landscape for the better, they help reduce the upkeep you’ll need to devote to keeping your landscape neat and tidy – which is something most people really appreciate.
Author Bio: Kimberly Schuyler is a licensed landscape maintenance professional with 15 years experience helping homeowners across the Southwest diagnose and recover stressed lawns. She holds certifications in pesticide application and integrated pest management.
Published: February 3, 2026
Last updated: February 3, 2026