Why Sprayer Calibration Matters
If a sprayer is not calibrated, you can unintentionally:
- Overapply and waste product
- Underapply and see poor results
- Create striping or uneven color
- Increase runoff or plant stress
- Spend more money fixing avoidable issues
Calibration removes the guesswork and replaces it with repeatable accuracy.
Proper sprayer settings and sprayer coverage calculations ensure you’re not overapplying or underapplying liquid products.

PetraTools HD14000 Pushcart Sprayer
Best for: Large properties, farms, orchards, commercial landscaping, high-volume applications
Key features: 6–8 hrs battery life, 130-ft commercial hose with storage reel, 7 nozzles, steel frame with pneumatic wheels, no manual pumping
Availability: In stock — $699.99
Buy ProductThe Three Things Calibration Controls
Every sprayer setup comes down to three variables working together:
- Flow Rate – How much liquid leaves the nozzle
- Walking Speed – How fast you move while spraying
- Spray Width – How wide the application band is
Slight overlap between passes is normal, but large overlaps will increase your actual application rate.
Change one, and the others must adjust.
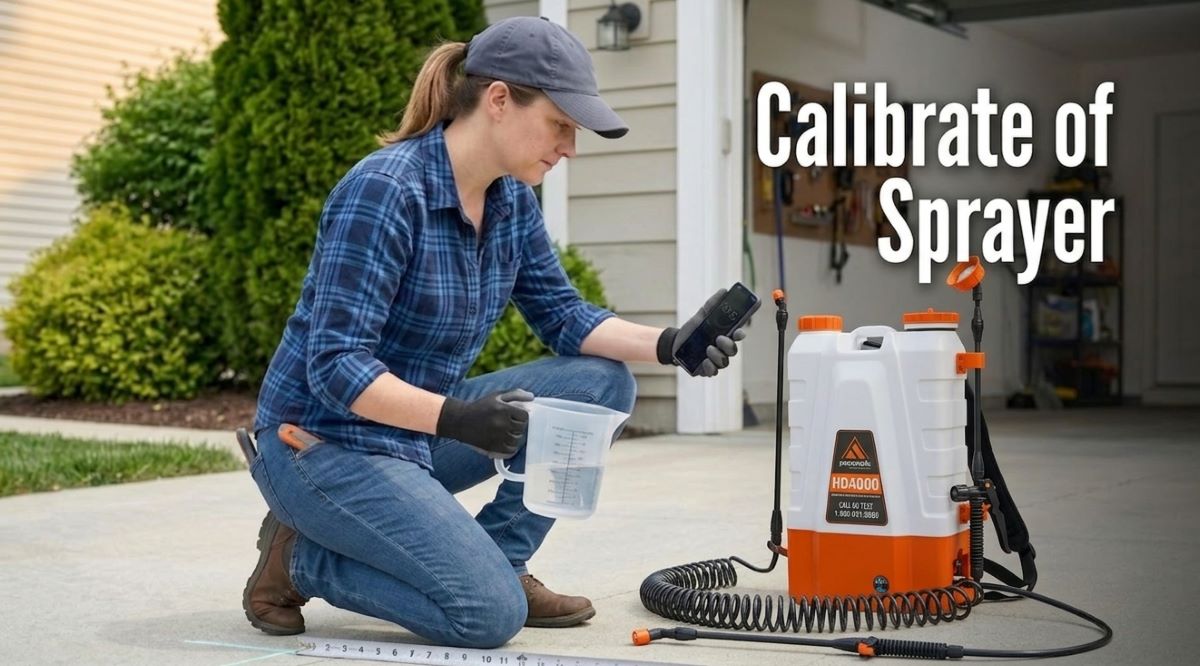
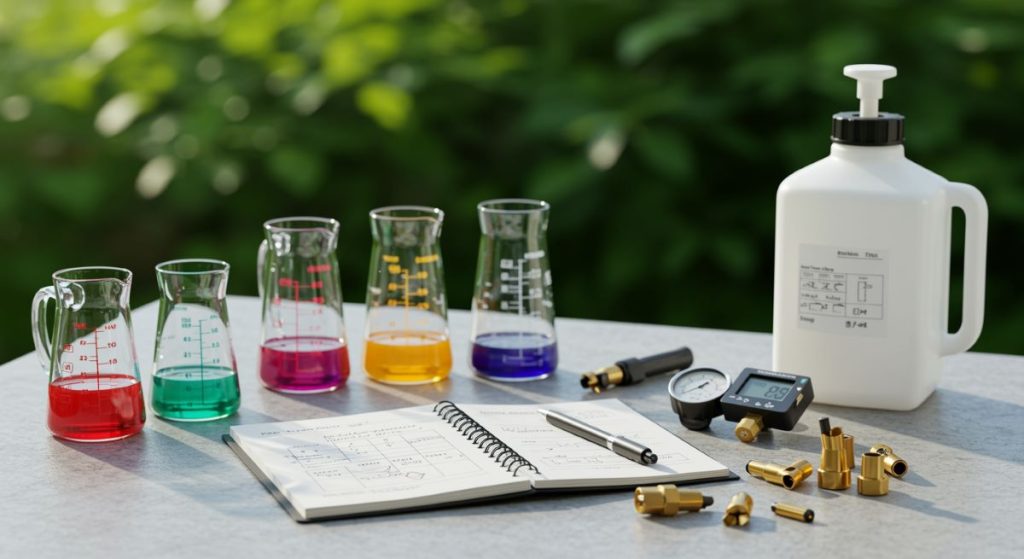
What You’ll Need Before You Start
Calibration does not require special tools. Just:
- A measuring container (graduated pitcher works well)
- A tape measure
- A stopwatch or phone timer
- Clean water
- A marked test area (like a driveway or lawn section)
Choosing the Right Sprayer Before You Calibrate
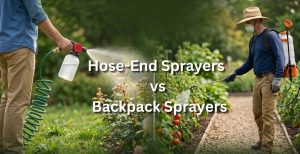
Calibration works the same way regardless of sprayer style, but different types of sprayers influence how easily you can maintain consistent output.
- Handheld pump sprayers are ideal for small areas and spot treatments where precision matters more than speed. Units like the PetraTools HD101 are commonly used for this kind of targeted work.
- Backpack sprayers provide more uniform coverage across larger lawns because the weight is balanced and pressure remains steadier while walking. PetraTools sprayers such as the HD3000 or HD4000 are often chosen for property-wide applications where maintaining pace and spray pattern consistency is important.
- Cart sprayers are designed for larger spaces where capacity and reduced refilling improve efficiency. A cart-style unit like the HD14000 allows you to focus on maintaining a consistent walking speed without interruption, which directly improves calibration accuracy.
No matter which sprayer you use, calibration ensures that the equipment is applying material at the rate you expect rather than relying on factory defaults.

PetraTools HD4000 Backpack Sprayer
Best for: Lawn care, pest control, property maintenance
Key features: 4-gallon tank, adjustable pressure, rechargeable battery
Availability: In stock for $199.99
Buy ProductStep-by-Step: How to Calibrate Your Sprayer
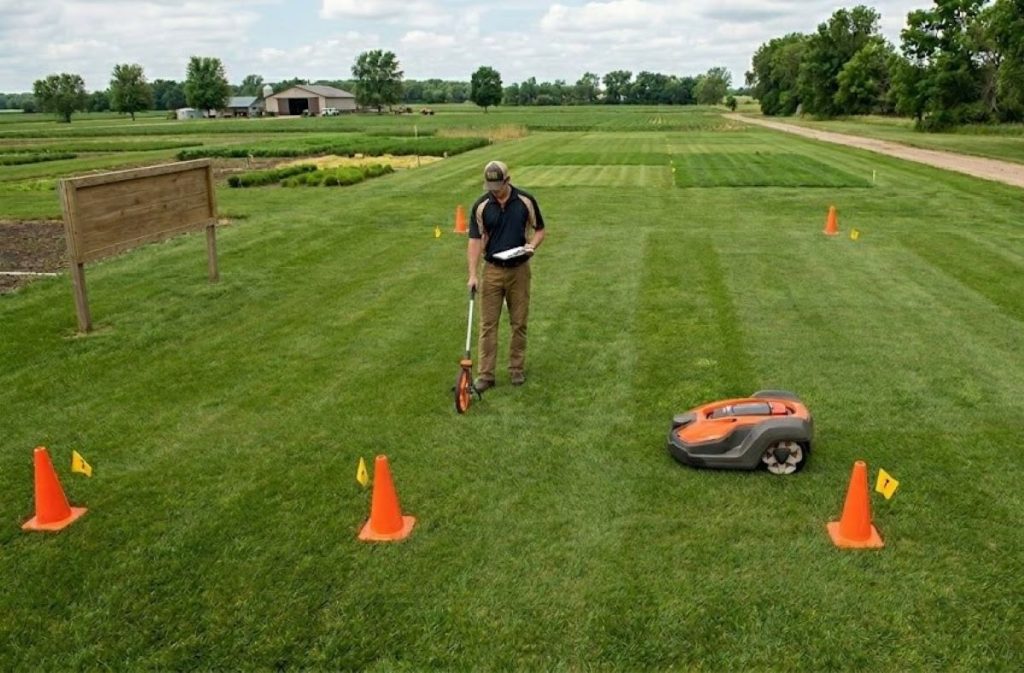
Step 1: Measure a Test Area
Mark off a known square footage, such as 1,000 square feet.
This keeps the math simple and mirrors how product labels are written.
Example test plot:
- 20 ft × 50 ft = 1,000 sq ft
Step 2: Fill the Sprayer With Clean Water
Always calibrate using water first. This avoids wasting product and allows safe adjustments.
Step 3: Spray the Test Area at Normal Pace
Walk exactly how you would during real application.
Do not slow down or try to “be precise.” The goal is to measure your natural working speed.
Many homeowners naturally walk 3–4 feet per second. If unsure, time yourself walking 50 feet and adjust your pace until it feels repeatable.
Step 4: Measure How Much Liquid You Used
After spraying the test area, check how much water left the tank.
Example:
You used 0.5 gallons to cover 1,000 sq ft.
That becomes your application rate.
Step 5: Convert to Coverage Rate
Now calculate.
Example Coverage Conversions:
| Measured Output | Coverage |
|---|---|
| 0.5 G per 1,000 sq ft | 2 G per 4,000 sq ft |
| 1 G per 1,000 sq ft | 4 G per 4,000 sq ft |
This tells you exactly how your sprayer applies product.
Application Rate (gallons per 1,000 sq ft) = Total Gallons Used ÷ (Square Feet Covered ÷ 1,000)
Adjusting Sprayer Settings for Accuracy
If your output doesn’t match your target label rate, adjust using one of these methods:
Change Nozzle Size
- Larger nozzle = more output
- Smaller nozzle = less output
Adjust Pressure Settings
- Higher pressure increases flow
- Lower pressure reduces volume
Modify Walking Speed
- Faster walking reduces application
- Slower walking increases application
Small changes make a big difference. Re-test after every adjustment.
Matching Calibration to Real Product Labels
Always follow product label instructions exactly. Calibration ensures accuracy, but the label is the legal application standard.
Most lawn and landscape products are labeled like this:
Apply X gallons per 1,000 square feet.
Once your sprayer is calibrated, you simply mix the product according to that coverage rate. No guessing. No reapplication.
Example Calibration Scenario
Let’s say your sprayer applies:
0.75 gallons per 1,000 sq ft
And your lawn is 4,000 sq ft.
You now know you’ll need:
3 gallons of total solution to cover the entire area evenly.
That level of predictability is what calibration provides.
Why Consistent Equipment Helps
Consistent output is easier to maintain when using sprayers designed for steady pressure and uniform distribution. Whether using a handheld unit for spot work, a backpack sprayer for walking applications, or a cart sprayer for larger properties, the goal is the same: predictable flow and even coverage.
This is why many homeowners choose dedicated lawn sprayers like backpack or cart-style units, which are designed to maintain steady output across an entire application.
The more stable the pressure and spray pattern, the easier calibration becomes to repeat throughout the season.
Battery-powered backpack sprayers that maintain constant pressure reduce output fluctuation compared to manual pump units, which can lose pressure as the tank empties.
Common Calibration Mistakes to Avoid
Skipping Calibration Entirely
Leads to uneven results and wasted material.
Changing Walking Speed Mid-Application
Alters coverage instantly.
Switching Nozzles Without Recalibrating
Every nozzle changes output.
Assuming Factory Settings Are Accurate
They are starting points, not final settings.
How Often Should You Recalibrate?
Recalibrate whenever:
- You change products
- You change nozzles
- The season begins
- You notice uneven results
- Equipment has been cleaned or serviced
A quick recalibration check only takes a few minutes but prevents hours of correction later.
Recheck calibration after winter storage, as seals, pressure, and nozzles can change slightly between seasons.
Quick Reference Calibration Chart
| Test Area | Liquid Used | Application Rate | Typical Use |
|---|---|---|---|
| 1,000 sq ft | 0.5 G | 0.5 G/1,000 | Concentrated Treatments |
| 1,000 sq ft | 0.75 G | 0.75 G/1,000 | Standard Lawn Feeding |
| 1,000 sq ft | 1 G | 1 G/1,000 | Heavy Coverage Application |
Troubleshooting Uneven Sprayer Coverage or Incorrect Application Rates
- Check nozzle for clogging
- Verify pressure consistency
- Confirm walking speed
- Recalibrate if tank volume changes
- Inspect spray pattern on concrete before lawn application
FAQs: Sprayer Calibration Questions
Yes. Even identical models can vary slightly based on setup and use.
Water is recommended so adjustments can be made safely without waste.
Walking speed. Most application errors come from moving inconsistently.
Both matter, but nozzle selection creates the biggest change in flow rate.
Final Thought
Calibration takes ten minutes but protects every application you make for the rest of the season. It is simply measuring what your sprayer is already doing so you can apply treatments intentionally instead of approximately.
Once set, you gain repeatable coverage, better performance from every product, and confidence that what you’re applying is landing exactly where and how it should.
Accurate calibration is one of the simplest upgrades you can make to improve results without changing products or equipment.