Why Sprayer Maintenance Matters More Than Most People Think
Sprayers are simple machines, but they handle products that dry, settle, and leave residue behind. Fertilizers, herbicides, cleaners, and sealers can all create buildup inside hoses, pumps, and nozzles if they are not flushed properly.
Poor maintenance leads to:
- Uneven spray patterns
- Loss of pressure
- Clogged nozzles
- Premature pump failure
- Cross-contamination between solutions
With basic care, most quality sprayers can last for years, even with frequent use.
Understanding how different sprayers are built helps explain why consistent cleaning and inspection matter.
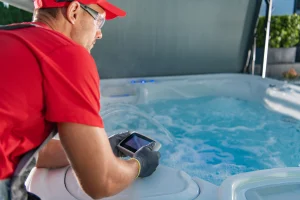
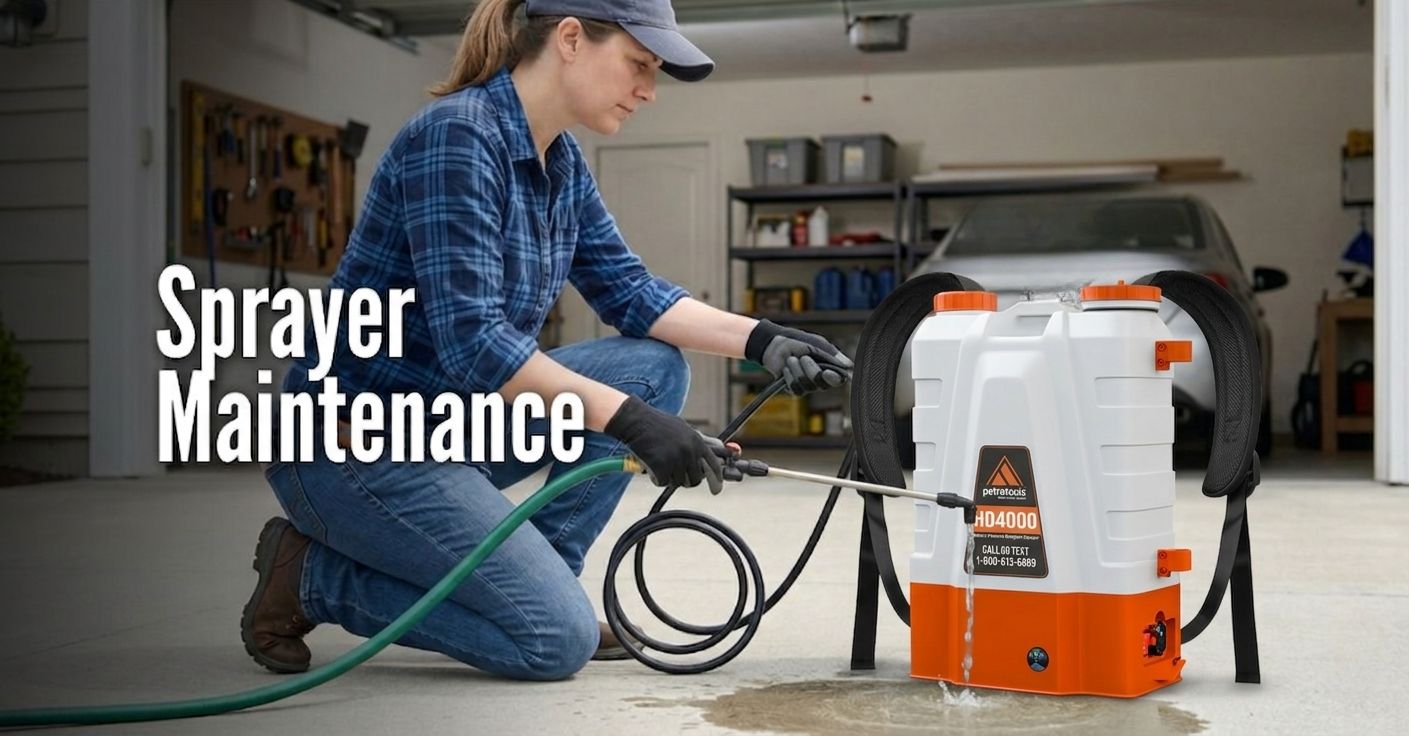
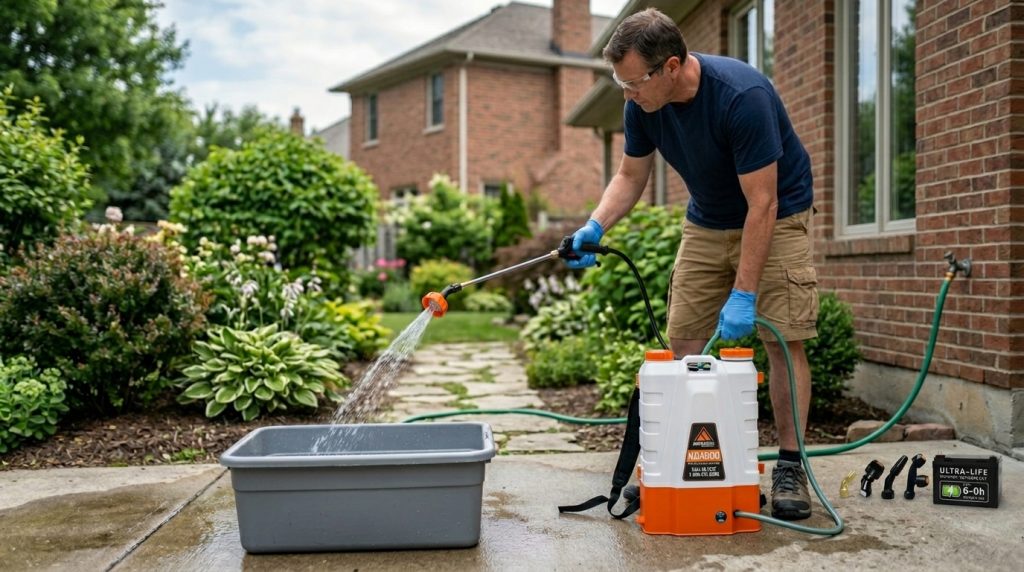
Different sprayer designs require slightly different care routines. For example, handheld pump units like the Petratools HD101 1 Gallon Pump Sprayer are simple to rinse and store, while larger battery-powered models such as the Petratools HD4000 Backpack Sprayer include internal pumps, hoses, and filters that benefit from a more thorough flush after each use.

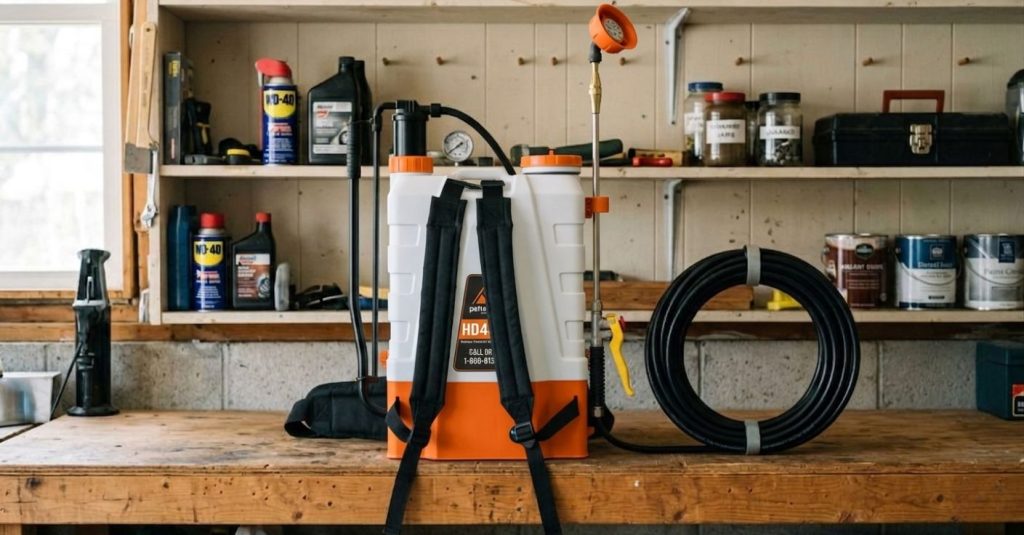
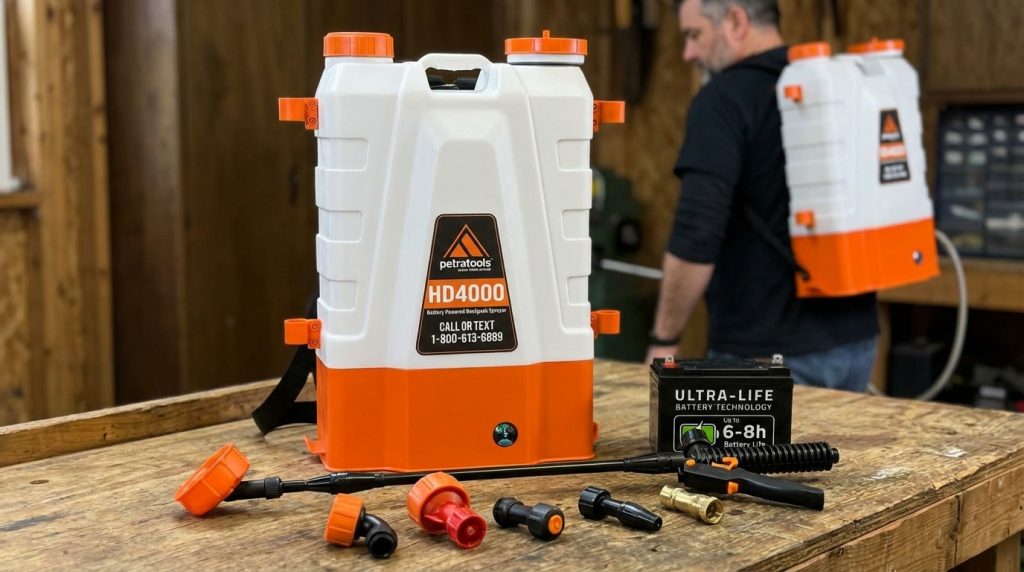
PetraTools HD4000 Backpack Sprayer
Best for: Lawn care, pest control, property maintenance
Key features: 4-gallon tank, adjustable pressure, rechargeable battery
Availability: In stock for $199.99
Buy ProductAcross the Petratools lineup, from compact handheld units to high-capacity cart systems, the goal is the same: remove residue before it dries and protect seals, lines, and spray tips.
Cleaning Your Sprayer After Every Use
Cleaning immediately after use is the single most important habit you can develop. Letting products sit overnight is where most problems begin.
Step 1: Empty the Tank Completely
Never store leftover solution in the sprayer. Dispose of or use it according to product directions.
Step 2: Rinse the Tank With Clean Water
Fill the tank about ¼ full, shake it gently, and spray the rinse water out through the system. This helps remove residue from internal components.
Step 3: Flush the Entire System
Run clean water through:
- Hose
- Wand
- Nozzle
- Pump assembly
If you only rinse the tank, buildup remains in the working parts.
Buy ProductThis is especially important for electric sprayers that maintain constant pressure during operation. Models like the HD4000 operate continuously without manual pumping and can run for hours on a single charge, which means product travels through more internal components that should be rinsed after every job.
Step 4: Use a Mild Cleaning Solution When Needed
For oily, sticky, or concentrated products, use a small amount of dish soap or manufacturer-recommended cleaner, then rinse thoroughly again.
Preventing Clogs and Spray Pattern Problems
Many “broken sprayers” are actually just clogged.
Check the Nozzle First
Dried material can block even wide-angle tips. Remove the nozzle and rinse it under warm water. Use a soft brush, not a pin or metal object that could change the spray pattern.
Inspect the Filter and Screens
Most sprayers include an inline filter. If pressure drops, this is often where debris collects.
Avoid Letting Product Dry Inside
This is especially important when using:
- Sealers
- Paint-type solutions
- Thick concentrates
Consistent flushing prevents nearly all of these issues.
Seasonal Storage and Winterization
Step 1: Fully Drain the System
Pump out all remaining water. Freezing liquid inside the pump or hose can cause cracks.
Step 2: Run a Small Amount of Antifreeze – Optional but Helpful
For long-term storage, circulate a small amount of RV antifreeze through the system to protect seals.
Step 3: Store With the Lid Loose
This prevents pressure buildup and allows moisture to evaporate.
Step 4: Keep It Indoors When Possible
Avoid sheds or spaces with temperature swings that stress seals and plastics.
Routine Maintenance Checks That Take Less Than 5 Minutes
A quick inspection before each use can prevent mid-job frustration.
Check these areas:
- Hose connections for leaks
- Wand trigger for smooth operation
- Seals and O-rings for drying or cracking
- Battery charge level on electric models
- Nozzle condition and spray consistency
This is especially helpful for frequently used equipment like backpack or cart sprayers designed for lawn, landscape, or property applications.
Larger-capacity sprayers such as cart-style units are often used for extended property applications, so checking fittings, wheels, and hose connections becomes part of routine upkeep. For example, cart-based systems like the HD5000 combine mobility with higher-volume spraying capability, making pre-use inspection just as important as post-use cleaning.

PetraTools HD5000 Cart Sprayer
Best for: Large yards, farms, commercial properties, high-volume spraying jobs
Key features: 6–8 hrs battery life, 80+ PSI, 100-ft commercial hose, steel-framed cart with flat-free tires, 5 swappable nozzles, converts to backpack
Availability: In stock — from $449.99
Buy ProductIf you’re unsure which model or capacity is best suited for your property, comparing sprayer types can help match equipment to workload before maintenance even becomes a concern.
When to Replace Parts Instead of Replacing the Sprayer
Most wear happens in small, replaceable components.
Common replacement items include:
- Nozzles
- O-rings and seals
- Hoses
- Filters
- Trigger assemblies
Replacing these inexpensive parts can restore full performance without buying a new unit.
Buy ProductMany users extend the life of their Petratools sprayers simply by replacing service parts instead of retiring the unit, keeping equipment working reliably through multiple seasons.
Troubleshooting Common Sprayer Issues
Most performance problems show up gradually, not suddenly, which is why regular cleaning and inspection prevent the majority of failures.
| Problem | Likely Cause | Solution |
|---|---|---|
| Low pressure | Clogged filter or nozzle | Clean components |
| Uneven spray | Worn or blocked tip | Replace nozzle |
| Pump runs but won’t build pressure | Air leak or dry seal | Check O-rings |
| Sprayer worked last season but not now | Dried residue inside | Deep clean and flush |
| Leaking connections | Loose fittings | Tighten and inspect seals |
Most issues are maintenance-related, not mechanical failure.
Storage Tips for Long-Term Reliability
Good storage is about keeping components clean, dry, and protected.
- Store sprayer empty and rinsed
- Avoid leaving it in direct sunlight
- Do not hang by the hose or wand
- Keep accessories together so parts are not misplaced
- Recharge batteries every few months during off-season
These small habits dramatically extend service life.
How Maintenance Protects Your Investment
A well-maintained sprayer delivers:
- More accurate application
- Less wasted product
- Reduced downtime
- Longer equipment lifespan
- Better overall results on lawn, landscape, or cleaning projects
Neglect, on the other hand, shortens equipment life far more quickly than normal use ever will.
Frequently Asked Questions
After every use. Even quick rinsing prevents buildup that causes long-term damage.
No. Residue from one solution can react with another or affect application results.
Usually due to clogged filters, worn seals, or dried products inside the system.
Yes. Most performance issues come from inexpensive wear components that are easy to replace.
Letting the product sit in the sprayer overnight or through the off-season.
The Bottom Line
Sprayer maintenance is not complicated, but it is essential. A few minutes of cleaning and inspection after each use prevents the majority of performance issues and keeps your equipment ready whenever you need it.
Treat your sprayer like a tool, not a container, and it will deliver consistent results year after year.
Consistent maintenance takes far less time than troubleshooting a sprayer that was stored dirty for months.