Why Concrete Cracks in the First Place
Concrete does not fail because it is weak. It cracks because it moves.
Common causes include:
- Shrinkage during curing
- Freeze-thaw expansion
- Soil movement beneath slabs
- Water intrusion
- Heavy loads over time
Understanding the cause helps determine whether repair is cosmetic maintenance or a deeper issue.
Identifying the cause matters because filling a crack without addressing movement or moisture often leads to the crack returning.
Buy ProductTypes of Concrete Cracks (And What They Mean)
Hairline Cracks (Usually Cosmetic
Thin, shallow, and stable. These are the most DIY-friendly.
Shrinkage Cracks
Often appear in newer slabs. Typically not structural if they do not widen.
Settlement Cracks
Caused by soil movement. These require closer inspection.
Wide or Growing Cracks
If a crack is wider than 1/4 inch or continues to expand, it may indicate structural stress.
When a Crack Is Safe to Repair Yourself
DIY repair is appropriate when:
- The crack is not growing
- There is no vertical displacement
- Water is not actively entering
- The slab remains level
- The crack is under 1/4 inch wide
These situations are maintenance repairs, not structural fixes.
Warning Signs You Should Call a Professional
Stop and consult a contractor if you notice:
- One side of the crack is higher than the other
- Doors or structures nearby are shifting
- Cracks form a pattern across large areas
- Water seepage continues after sealing
- The crack keeps widening season after season
These indicate movement beneath the slab that surface repair cannot solve.
Tools and Materials Needed for DIY Repair
Successful repair depends heavily on preparation.
You will need:
- Stiff brush or grinder to clean edges
- Backer rod (for deeper gaps)
- Concrete crack filler or patch compound
- Sealant to protect the repair
- A proper surface cleaner before application
Surface prep is where many repairs fail. Cleaning removes oils and debris so repair material bonds properly. A dedicated cleaner like BEEST Concrete Cleaner & Degreaser is designed to prepare concrete before patching or sealing.
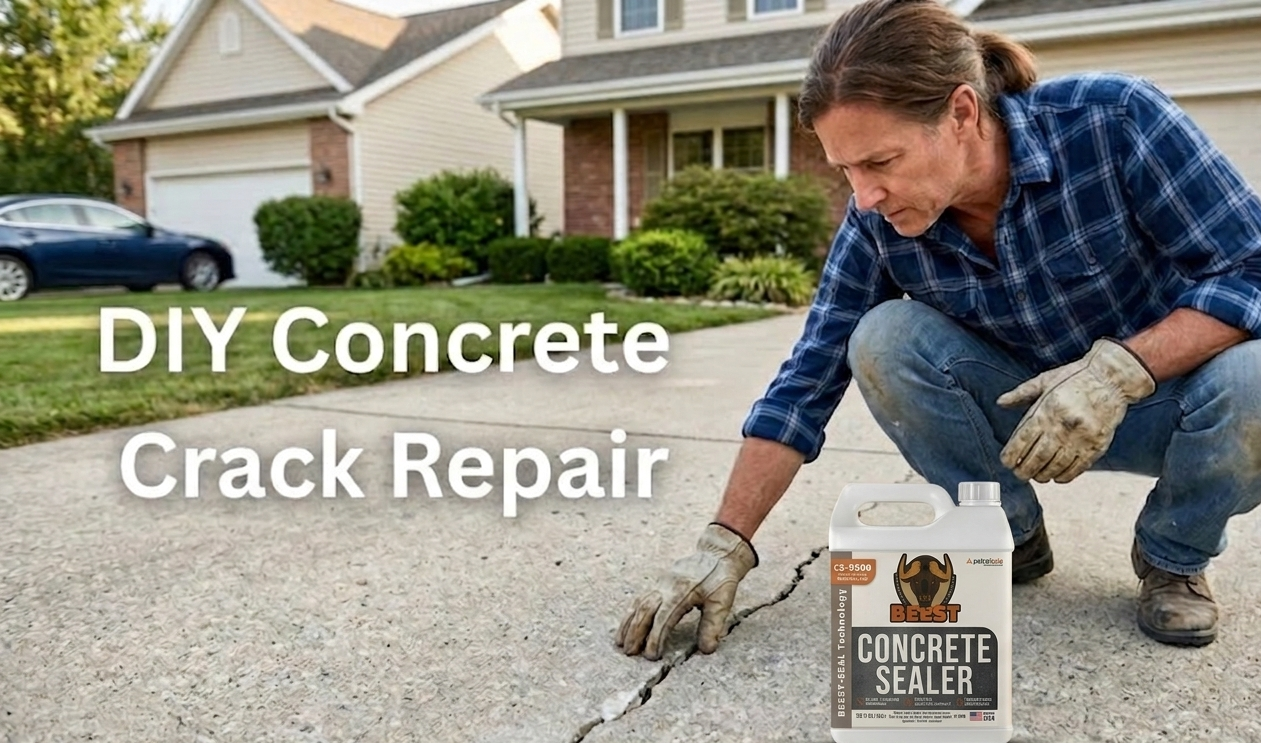
Step-by-Step: How to Repair a Concrete Crack
Once the surface is properly prepared and you have the right materials, the repair itself is straight forward.
Step 1: Clean the Crack Thoroughly
Remove dirt, loose material, and stains so the repair bonds correctly.
Step 2: Open the Crack Slightly, If Needed
Creating a small V-shape helps filler penetrate rather than sit on the surface.
Step 3: Insert Backer Rod for Deep Cracks
This prevents wasting filler and improves flexibility.
Step 4: Apply Repair Material
Fill evenly and avoid overfilling.
Step 5: Smooth and Allow Proper Cure Time
Follow manufacturer cure recommendations before traffic resumes.
Step 6: Seal the Surface
Sealing protects against moisture intrusion and helps prevent future cracking.
Most small crack repairs can be completed in an afternoon, with cure time ranging from several hours to a full day depending on the product used.
Protecting Concrete After Repair or Preventing Future Damage
Repairing a crack fixes the symptom. Protecting the surface helps prevent the next one.
Concrete is naturally porous, which means it absorbs water, salts, and contaminants unless it is sealed. When moisture gets inside and temperatures fluctuate, freeze–thaw cycles can create internal pressure that leads to cracking, flaking, and surface damage over time.
Applying a penetrating sealer helps reduce water absorption and exposure to damaging elements, making the surface less likely to deteriorate or crack again.
What a Concrete Sealer Actually Does
A quality sealer doesn’t just “coat” the surface. Depending on the formula, it penetrates into the concrete and blocks moisture from entering the pores while still allowing the material to breathe.
This helps protect against stains, salts, and environmental wear while extending the usable life of the slab.
Added Benefit: It Improves Appearance Too
Sealing is not only functional. It can refresh aging concrete and improve overall curb appeal, similar to how painting revitalizes other exterior surfaces
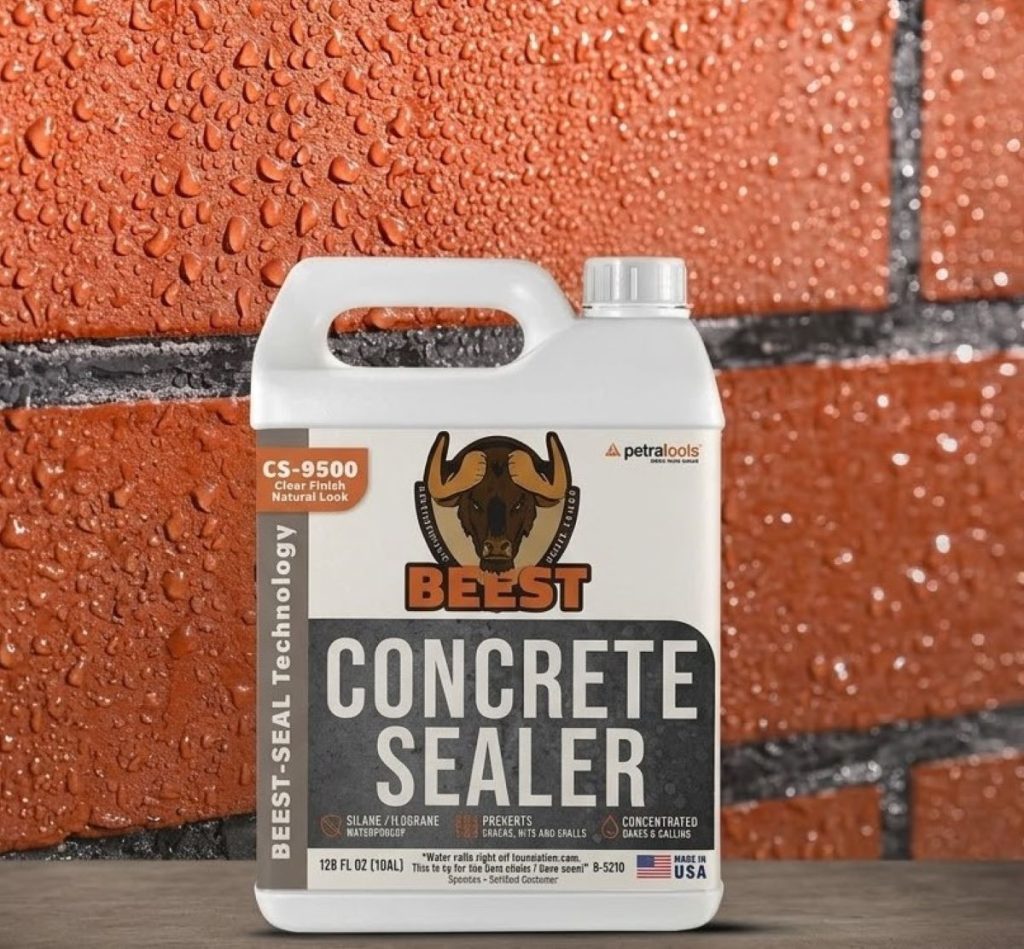
For homeowners maintaining repaired driveways, patios, or walkways, penetrating sealers, such as BEEST CS‑9500 Concrete Paver & Stone Sealer, are designed to repel moisture and extend the life of concrete surfaces. These silane–siloxane formulas penetrate deeply to provide long-lasting protection against water, UV exposure, and freeze–thaw damage without changing the natural look of the material.
If you prefer a pre-mixed option for smaller DIY projects, BEEST CS‑9500 Ready‑to‑Use Sealer offers the same protection in a ready-to-apply format suitable for interior or exterior applications.
Other formulations, such as BEEST PS-8700 Concrete Paver & Stone Sealer and BEEST PS-8600 Concrete Paver & Stone Sealer, offer similar protection, allowing you to choose the option that best fits the surface type and level of exposure.
Buy ProductPreventing Cracks from Returning
Repairing a crack in concrete or paver surfaces without prevention often leads to repeat damage.
Key prevention steps:
- Maintain proper drainage around slabs
- Seal concrete to limit water penetration
- Address soil erosion early
- Avoid deicing salts that accelerate breakdown
- Reseal surfaces periodically
Concrete longevity depends more on protection than repair.
Most exterior concrete benefits from resealing every 2 to 3 years, depending on weather exposure and traffic.
Simple maintenance, like keeping joints sanded in paver areas and directing downspouts away from slabs, can make a big difference in long-term performance.
Cost Comparison: DIY vs Professional Repair
| Repair Type | Typical Cost | Best For |
|---|---|---|
| DIY Crack Repair | Low material cost | Cosmetic or stable cracks |
| Professional Structural Repair | Higher investment | Movement-related damage |
DIY saves money when the issue is surface-level. Structural problems require expertise to prevent recurring damage.
Final Decision Guide: Fix It or Call for Help
DIY Repair Makes Sense If:
- Crack is small and stable
- No structural movement exists
- You are restoring appearance and durability
Call a Professional If:
- The crack signals movement
- Repairs fail repeatedly
- Safety or structural integrity is uncertain
Concrete repair is less about filling a gap and more about understanding why the gap formed.
This guide is intended for non-structural concrete repairs. If you suspect foundation movement or structural damage, consult a qualified professional.
FAQ
No. Many are cosmetic, but sealing them helps prevent moisture intrusion.
When properly cleaned, filled, and sealed, repairs can last for years.
Sealing reduces moisture damage, which is a major contributor to deterioration.
Skipping surface preparation before applying repair materials.
Bottom Line
Most concrete cracks are manageable with the right preparation and materials. The challenge is knowing which ones are maintenance issues and which require structural evaluation.
When in doubt, diagnose first and repair second.